
Deploying an application on OpenShift Local: A Beginner’s Guide
Introduction
OpenShift, developed by Red Hat, extends Kubernetes to provide a more robust platform for deploying and managing containerized applications in a complete application platform. It integrates the core features of Kubernetes with additional tools and services to enhance developer productivity and operational efficiency. This guide aims to introduce beginners to deploying applications on OpenShift Local, a streamlined method to run OpenShift clusters locally for development and testing.
Using a local OpenShift environment, offers several benefits, especially for developers who are new to OpenShift or Kubernetes:
- Safe Learning Environment: It allows experimenting without the risk of affecting a production environment. This is crucial for beginners who are learning the ropes of container orchestration and application deployment.
- Cost-Effective: There’s no need for cloud resources, making it an economical solution for testing and development purposes.
- Convenience: Developers can easily test and debug their applications locally, which streamlines the development process.
Several methods for setting up OpenShift locally include:
- OpenShift Local: This is the new name for CodeReady Containers. OpenShift Local is an official Red Hat solution to run OpenShift 4.x locally. It provides a straightforward way to create a single-node OpenShift 4 cluster.
- MiniShift: An older tool compared to CodeReady Containers. MiniShift was commonly used for running a single-node OpenShift cluster. It runs on top of a virtual machine and is suitable for development and testing purposes. MiniShift supports OpenShift 3.x versions.
- OKD: OKD is the Community Distribution of Kubernetes that powers Red Hat OpenShift. It offers more flexibility and can be used to set up a more extensive development environment than CodeReady Containers or MiniShift. However, setting up an OKD cluster is generally more complex.
- Containerized Development Environments: Some developers choose to use containerized development environments that mimic OpenShift’s behavior. Tools like Docker and Podman can be used to run OpenShift components in containers. This approach requires more manual setup and configuration.
Each method has its benefits, depending on your project needs and system capabilities. In this post I’ll cover the usage of OpenShift Local.
Step-by-Step Deployment on Local OpenShift
To get started with OpenShift Local, download the crc tool from the Red Hat Console. If you don’t have a Red Hat account, you can create one for free with the Red Hat Developer program.
Step 1: Start Your Local OpenShift Cluster
-
Download OpenShift Local: Visit the OpenShift Local download page and download the version for your OS.
-
Install CodeReady Containers:
- Extract the downloaded file.
- Run the setup command:
crc setup.
Expected output:
rmmartins@jarvis ~ crc setup
INFO Using bundle path /Users/rmmartins/.crc/cache/crc_vfkit_4.14.3_arm64.crcbundle
INFO Checking if running as non-root
INFO Checking if crc-admin-helper executable is cached
INFO Checking if running on a supported CPU architecture
INFO Checking if crc executable symlink exists
INFO Checking minimum RAM requirements
INFO Checking if running emulated on Apple silicon
INFO Checking if vfkit is installed
INFO Checking if CRC bundle is extracted in '$HOME/.crc'
INFO Checking if /Users/rmmartins/.crc/cache/crc_vfkit_4.14.3_arm64.crcbundle exists
INFO Checking if old launchd config for tray and/or daemon exists
INFO Checking if crc daemon plist file is present and loaded
Your system is correctly setup for using CRC. Use 'crc start' to start the instance
- Start the OpenShift Cluster:
- Initialize the cluster:
crc start. - This process may take several minutes.
- Initialize the cluster:
Expected output:
rmmartins@jarvis ~ crc start
INFO Using bundle path /Users/rmmartins/crc/cache/crc_vtk1t_4.14.3_arm64. crcbundle
INFO Checking if running as non-root
INFO Checking if crc-admin-helper executable is cached
INFO Checking if running on a supported CPU architecture
INFO Checking if crc executable symlink exists
INFO Checking minimum RAM requirements
INFO Checking if running emulated on Apple silicon
INFO Checking if vfkit is installed
INFO Checking if old launchd config for tray and/or daemon exists
INFO Checking if crc daemon plist file is present and loaded
INFO Loading bundle: crc_vfkit_4.14.3_arm64.. • INFO Starting CRC VM for openshift 4.14.3...
INFO CRC instance is running with IP 127.0.0.1
INFO CRC VM is running
INFO Updating authorized keys...
INFO Configuring shared directories
INFO Check internal and public DNS query...
INFO Check DNS query from host...
INFO Verifying validity of the kubelet certificates...
INFO Starting kubelet service
INFO Waiting for kube-apiserver availability... [takes around 2min]
INFO Waiting until the user's pull secret is written to the instance disk...
INFO Starting openshift instance... [waiting for the cluster to stabilize]
INFO Operator network is progressing
INFO 4 operators are progressing: console, image-registry, ingress, network INFO 2 operators are progressing: image-registry, ingress
INFO Operator image-registry is progressing
INFO Operator image-registry is progressing
INFO Operator image-registry is progressing
INFO All operators are available. Ensuring stability...
INFO Operators are stable (2/3)...
INFO Operators are stable (3/3)...
INFO Adding crc-admin and crc-developer contexts to kubeconfig...
Started the OpenShift cluster.
The server is accessible via web console at:
https://console-openshift-console.apps-crc.testing
Log in as administrator:
Username: kubeadmin
Password: PNRGf-HT4jt-tyWvb-RdHad
Log in as user:
Username: developer
Password: developer
Use the 'oc' command line interface:
$ eval $(crc oc-env)
$ oc login -u developer https://api.crc. testing:6443
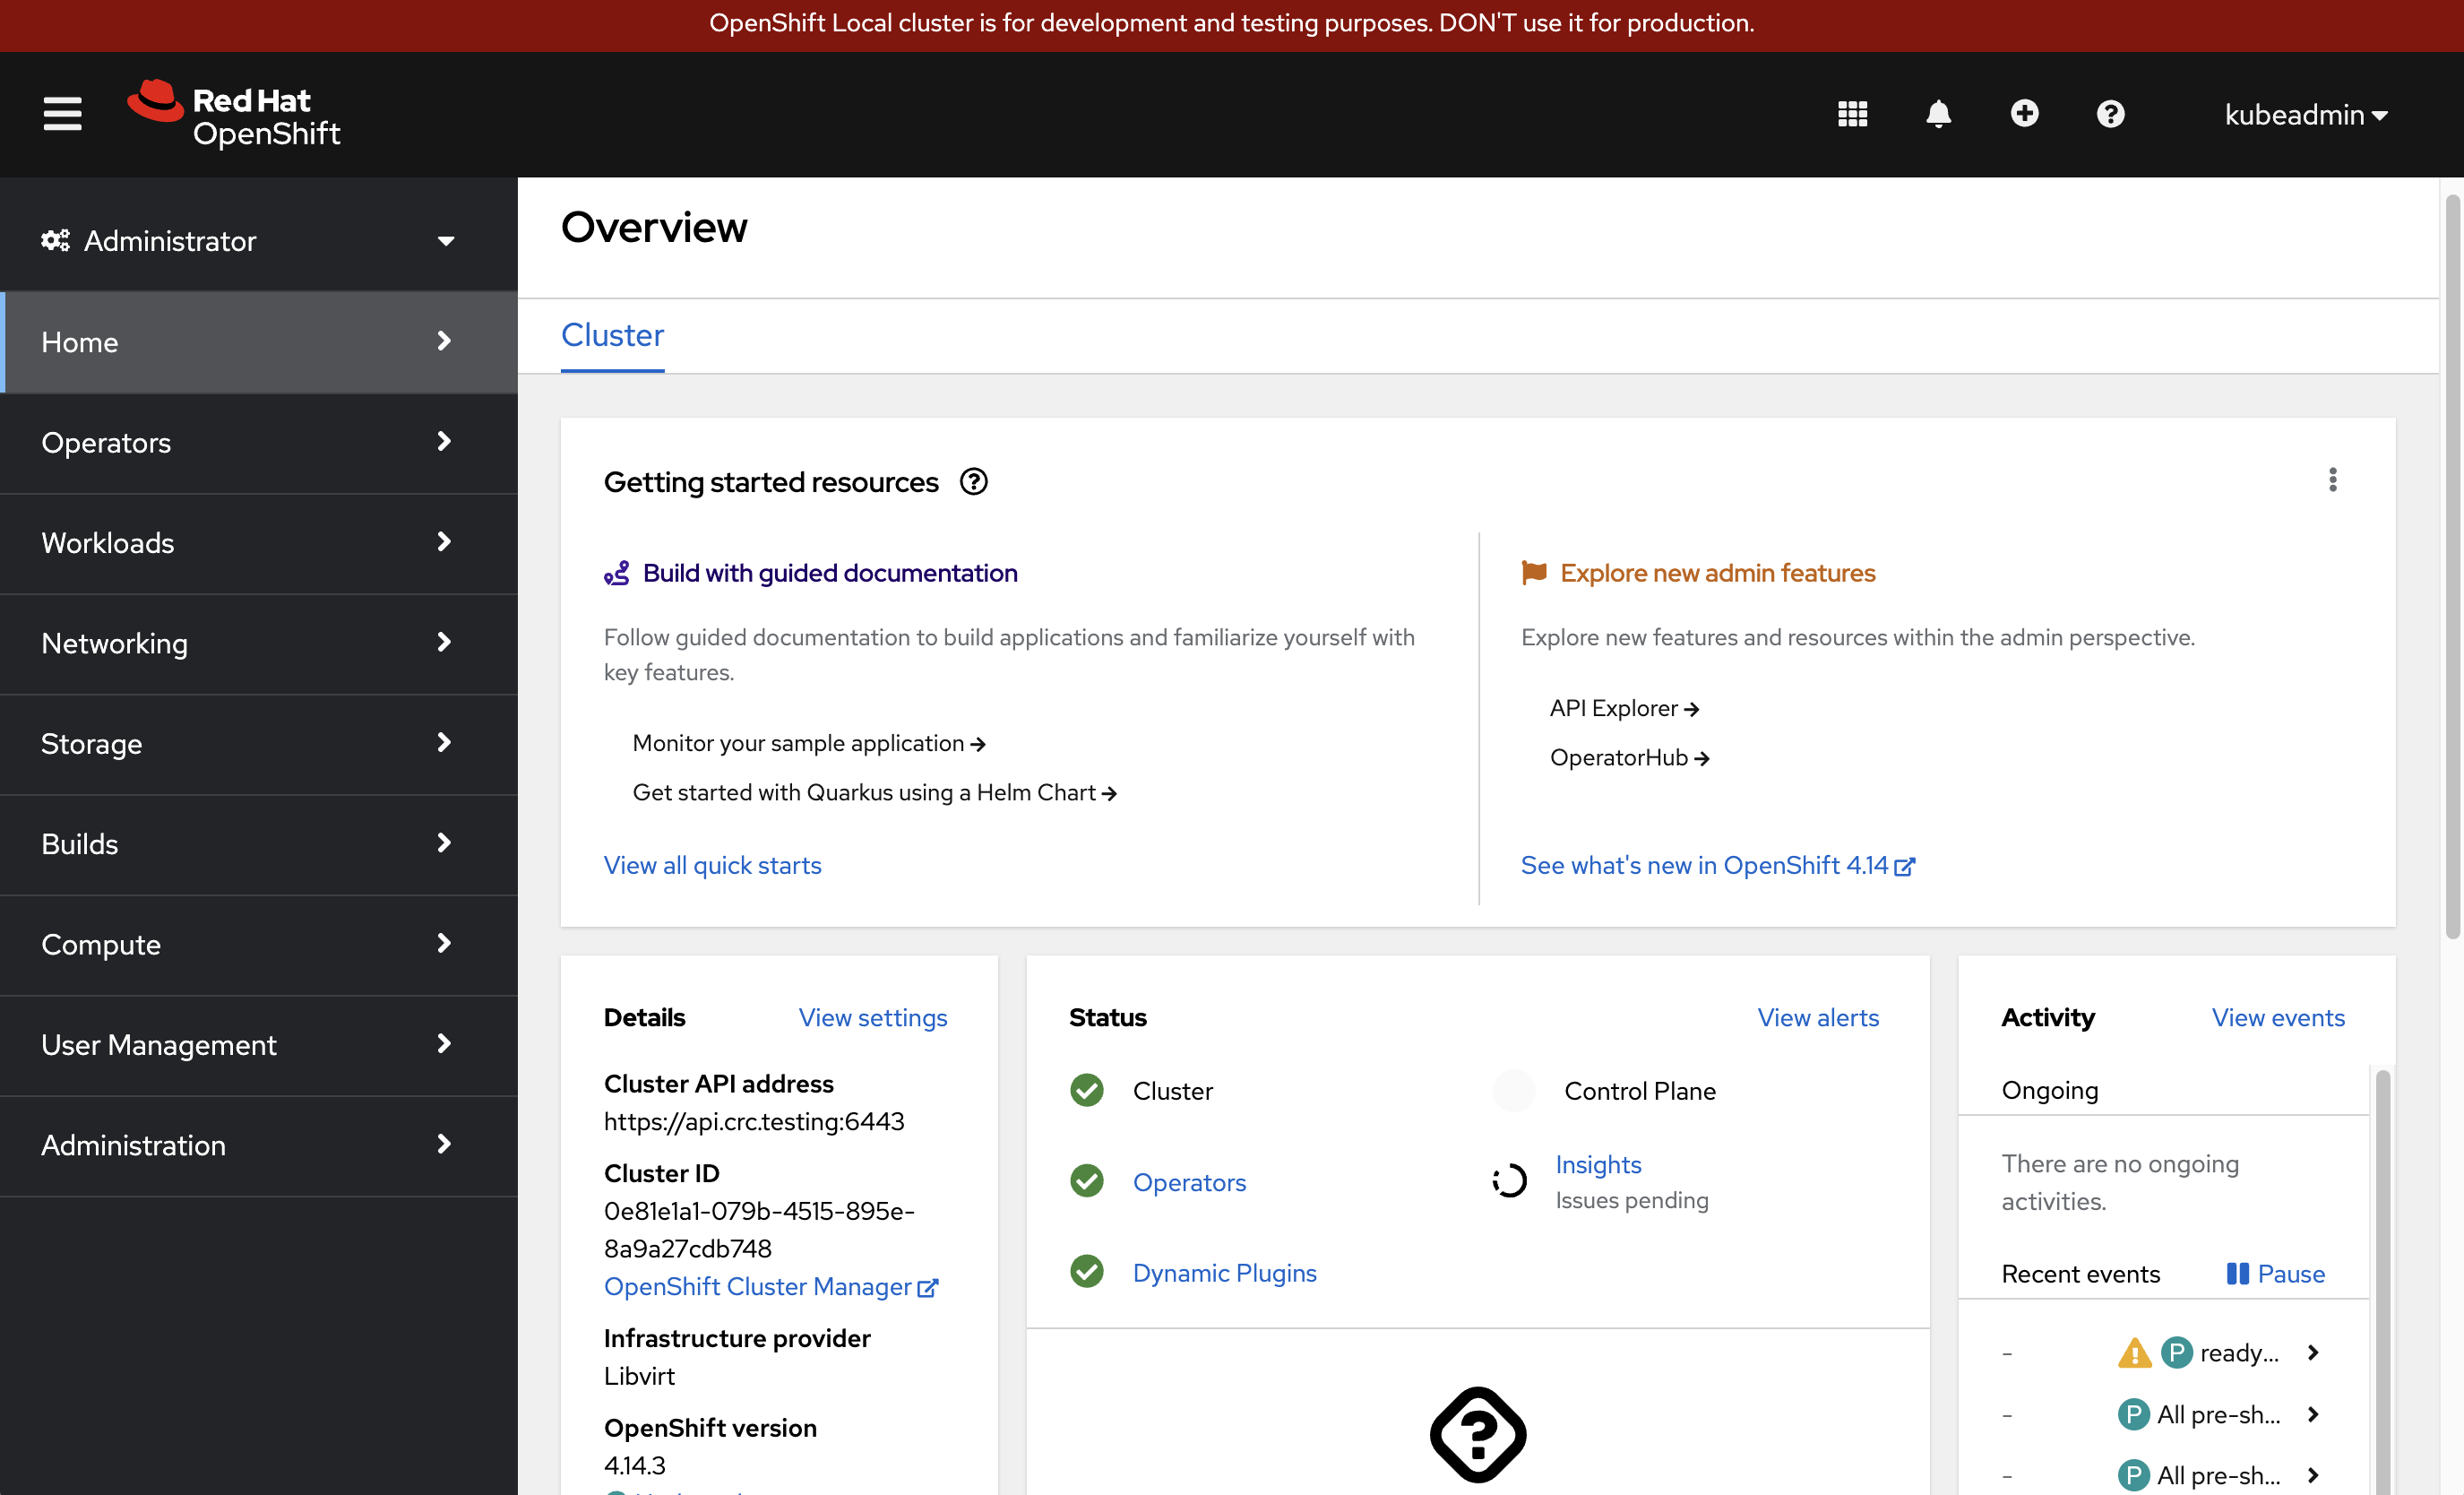
- Access OpenShift Console:
- Retrieve the console URL and login details:
crc console --credentials.
- Retrieve the console URL and login details:
Expected output:
rmmartins@jarvis ~ сгс console --credentials
To login as a regular user, run 'oc login -u developer -p developer https://api.crc. testing:6443'.
To login as an admin,
login -u kubeadmin -p PNRGf-HT4jt-tyWvb-RdHqd https://api.crc.testing:6443'
Step 2: Install the OpenShift CLI (oc)
If you haven’t already installed the OpenShift CLI, download and install it from the Red Hat Console.
Step 3: Authenticate to OpenShift
Authenticate to your OpenShift cluster using the oc CLI, this will allow you to execute deployment commands:
oc login -u developer -p developer
Expected output:
rmmartins@jarvis ~ oc login -u developer -p developer

Connecting to the OpenShift cluster

Login successful.

You don't have any projects. You can try to create a new project, by running

    oc create project <projectname>
Step 4: Create a New Project
A project in OpenShift is akin to a Kubernetes namespace but with additional management features. It’s a logical grouping that helps in resource organization, isolation, and multi-tenancy. In OpenShift, a project adds an extra layer of security and user management, allowing for more granular control over who can access what resources.
oc new-project my-php-project
Expected output:
rmmartins@jarvis ~ oc new-project my-php-project
Now using project "my-php-project" on server "https://api.crc.testing:6443".
You can add applications to this project with the 'new-app' command. For example, try:
oc new-app rails-postgresql-example
to build a new example application in Ruby. Or use kubectl to deploy a simple Kubernetes application:
kubectl create deployment hello-node --image=k8s.gcr.io/e2e-test-images/agnhost:2.33 -- /agnhost serve-hostname
This command creates a new project where all the subsequent resources related to the PHP application will be organized.
Step 5: Deploy the Application
In this guide, we’ll deploy the ricmmartins/aro-demo-dryrun PHP application.
When you use the oc new-app command with a remote repository URL, OpenShift directly pulls the code from the remote repository for deployment. This is a straightforward method for deployment without requiring a local copy of the code. It’s efficient when you don’t need to modify the code and want to deploy it as-is.
This command analyzes the repository and creates appropriate OpenShift resources (like BuildConfig, DeploymentConfig, Service) for the application.
oc new-app https://github.com/ricmmartins/aro-demo-dryrun.git
Expected output:
rmmartins@jarvis ~ oc new-app https://github.com/ricmmartins/aro-demo-dryrun.git
--> Found image aelcee7 (5 weeks old) in image stream "openshift/php" under tag "8.0-ubi8" for "php"
Apache 2.4 with PHP 8.0
~ - - - - - - - - - - = - - - - = - = - = = =
PHP 8.0 available as container is a base platform for building and running various PHP 8.0 applications and frameworks. PHP is an HTML-embedded scripting language. PHP attempts to make it easy for developers to write dynamically generated web pages. PHP also offers built-in database integration for several commercial and non-commercia \ database management systems, so writing a database-enabled webpage with PHP is fairly simple. The most common use of PHP coding is probably as a replacement for CGI scripts.

Tags: builder, php, php80, php-80
* The source repository appears to match: php
* A source build using source code from https://github.com/ricmmartins/aro-demo-dryrun.git will be created
* The resulting image will be pushed to image stream tag "aro-demo-dryrun: latest"
* Use 'oc start-build' to trigger a new build
--> Creating resources imagestream. image. openshift.io "aro-demo-dryrun" created
buildconfig.build.openshift.io "aro-demo-dryrun" created deployment. apps "aro-demo-dryrun" created
service "aro-demo-dryrun" created
- -> Success
Build scheduled, use 'oc logs f buildconfig/aro-demo-dryrun' to track its progress.
Application is not exposed. You can expose services to the outside world by executing one or more of the commands below:
' ос expose service/aro-demo-dryrun'
Run 'ос status' to view your app.
Step 6: Monitor the Deployment
To monitor the deployment process, use:
oc status
This command provides real-time status updates about the deployment process, helping you identify and troubleshoot any issues.
Expected output:
rmmartins@jarvis ~ oc status
Warning: apps.openshift.io/v1 DeploymentConfig is deprecated in v4.14+, unavailable in v4.10000+
In project my-php-project on server https://api.crc.testing:6443

svc/aro-demo-dryrun - 10.217.4.227 ports 8080, 8443 deployment/aro-demo-dryrun deploys istag/aro-demo-dryrun:latest <-
bc/aro-demo-dryrun source builds https://github.com/ricmmartins/aro-demo-dryrun.git on openshift/php:8.0-ubi8
deployment #2 running for 25 seconds - 1 pod
deployment #1 deployed 43 seconds ago

1 info identified, use 'oc status - suggest' to see details.
Step 7: Expose Your Application
In OpenShift, a ‘route’ is a powerful concept that exposes a service to an external host name. Unlike a regular Kubernetes service, which typically only allows internal cluster access, a route makes your application accessible from outside the OpenShift cluster.
oc expose svc/aro-demo-dryrun
Expected output
rmmartins@jarvis ~ ос expose svc/aro-demo-dryrun
route. route.openshift.io/aro-demo-dryrun exposed
This command creates a route for your service, allowing users to access the PHP application through a publicly available URL.
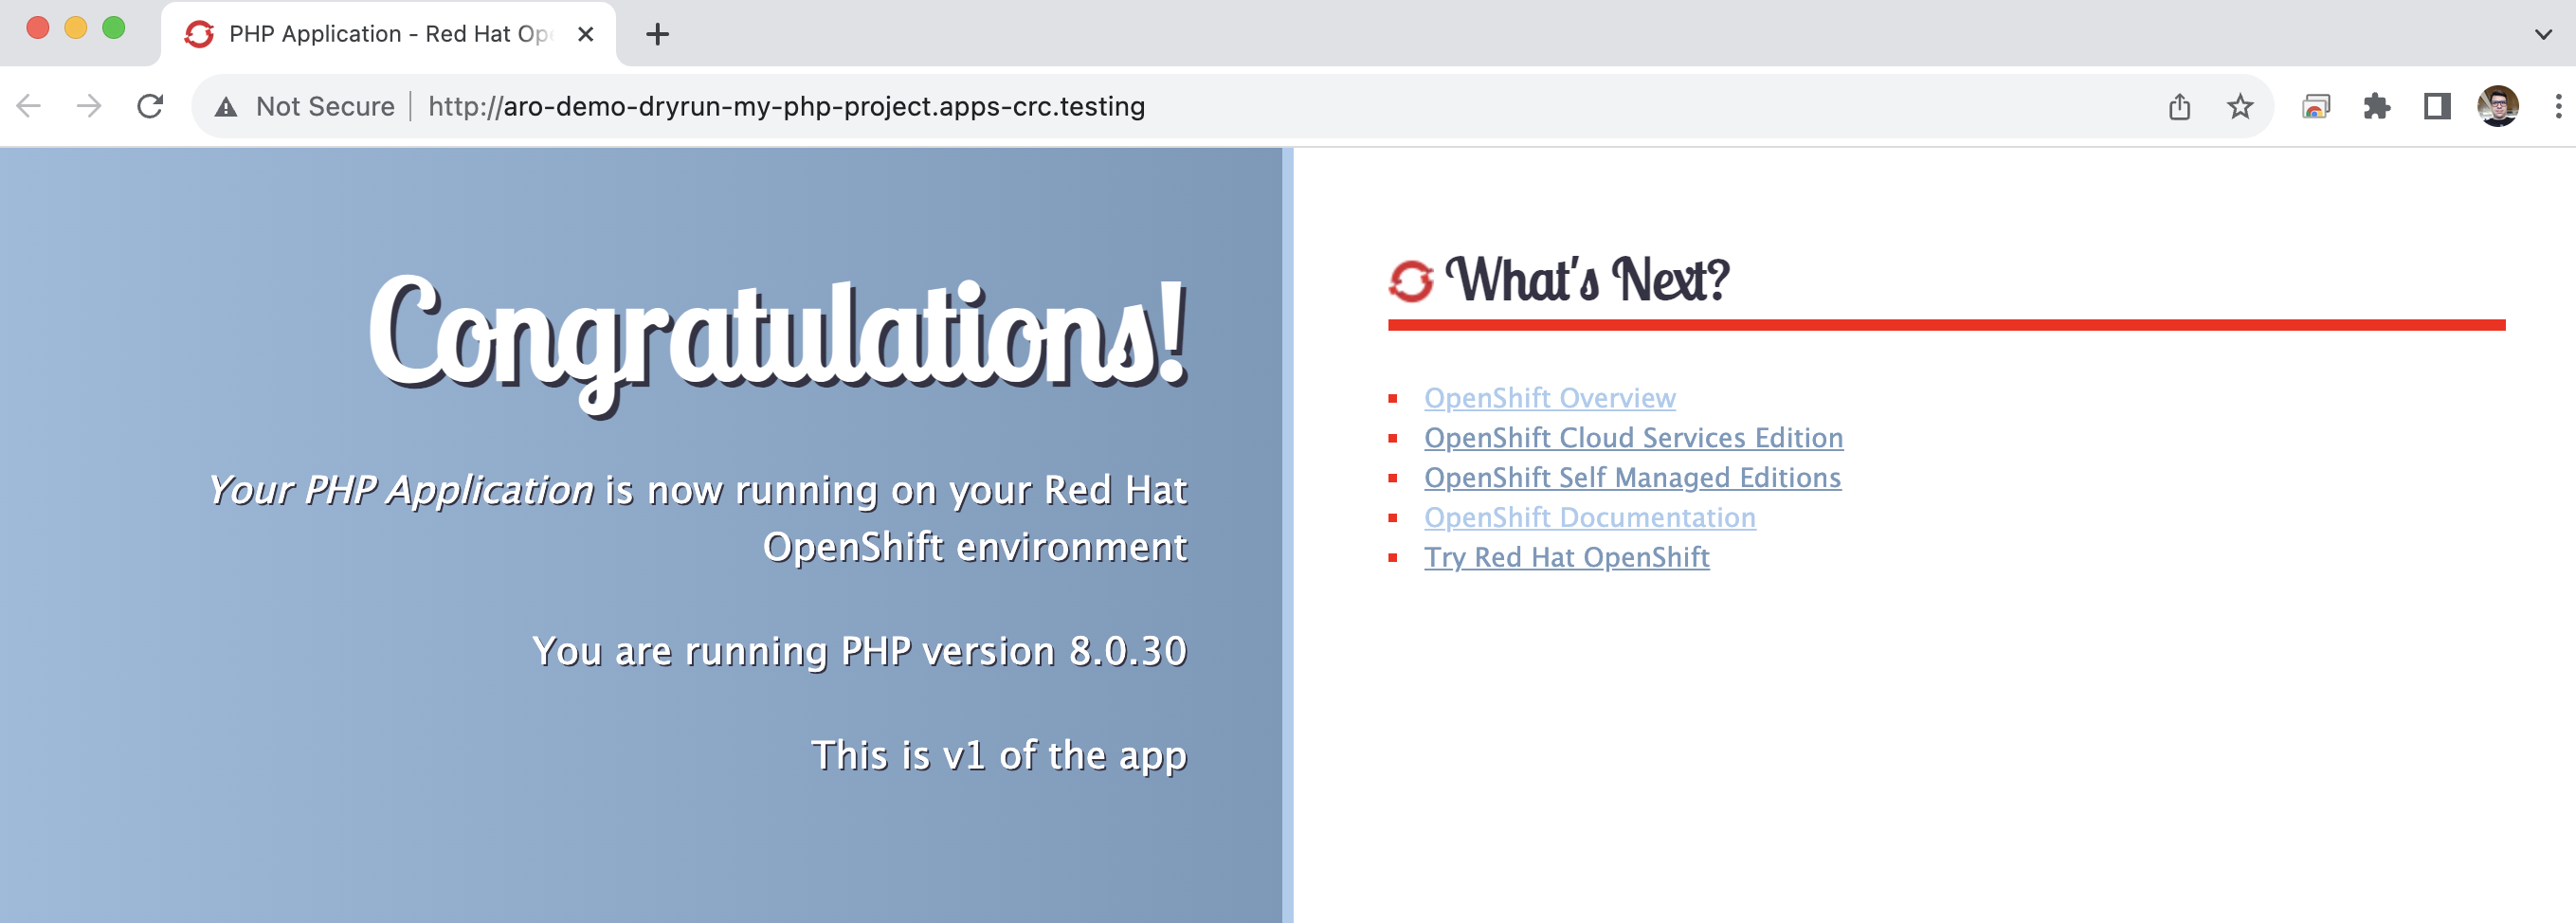
Step 8: Access the Application
Use oc get route to find the URL of your application:
oc get route/aro-demo-dryrun
Expected output
rmmartins@jarvis ~ oc get route/aro-demo-dryrun
NAME                    HOST /PORT                                        PATH     SERVICES          PORT      TERMINATION    WILDCARD
aro-demo-dryrun         aro-demo-dryrun-my-php-project.apps-crc.testing            aro-demo-dryrun   8080- tcp                None
Visit the URL in your browser to view your PHP application.
Conclusion
Deploying an application on OpenShift Local is a beginner-friendly way to delve into the world of Kubernetes and container orchestration. This hands-on experience lays a solid foundation for more advanced OpenShift concepts and practices. As developers become more comfortable with OpenShift, they can explore its full potential in cloud environments, scaling, and managing complex, containerized applications.